What is a Projector Replacement Lcd Panel and How to Choose the Right One
In the realm of audiovisual technology, the demand for high-quality visuals continues to grow, prompting many users to seek alternatives for enhancing their projector systems. One popular solution is the "Projector Replacement LCD Panel," which serves as a crucial component for restoring or upgrading image quality in existing projectors. According to a recent market analysis by the International Display Consortium, the global market for replacement projector components is projected to reach $1.2 billion by 2025, reflecting a robust trend towards maintaining performance in aging projection systems.
Expert in projection technology, Dr. Emily Hart, emphasizes the importance of selecting the right LCD panel: "The efficiency and clarity of your projector largely depend on the quality of its components. Choosing the right Projector Replacement LCD Panel can significantly enhance the viewing experience." With numerous options available, understanding the unique specifications and compatibility of different panels is vital for consumers. As the market evolves, making informed choices based on expert recommendations and industry reports can ensure optimal performance and longevity of projection systems.
What is a Projector Replacement LCD Panel?
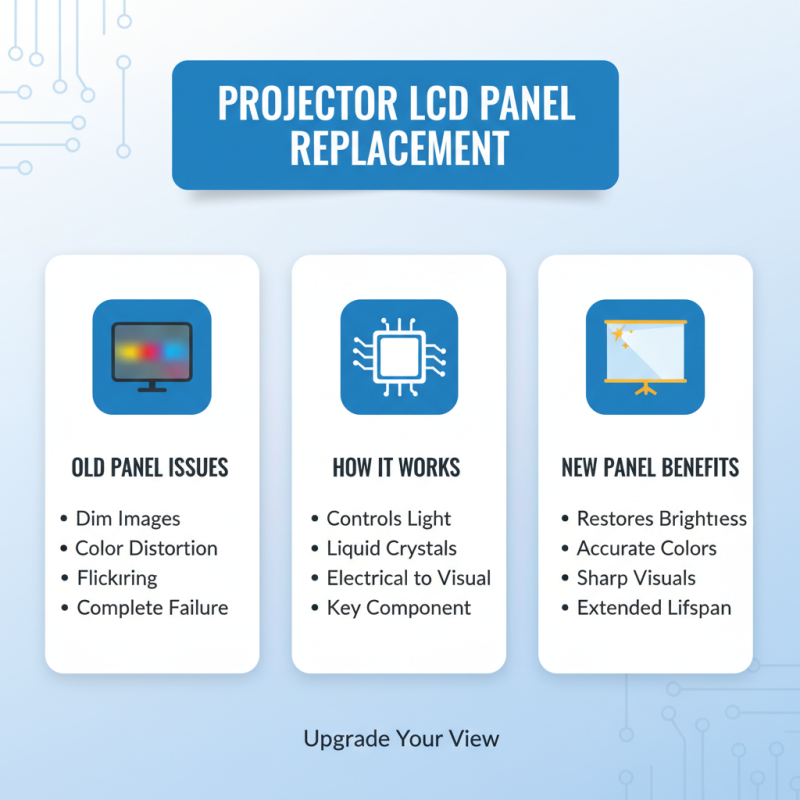
A projector replacement LCD panel is a critical component of a projector that helps to display images and videos. This panel functions by controlling the passage of light through liquid crystals, transforming electrical signals into visual representations. Over time, due to regular wear and tear, exposure to heat, and other environmental factors, these LCD panels can degrade in performance, leading to issues such as dim images, color distortion, or complete failure. When this happens, replacing the LCD panel can restore the projector's functionality and improve image quality, allowing users to enjoy crisp and vibrant visuals once again.
When it comes to choosing the right replacement LCD panel, several factors need to be considered. Firstly, it is essential to ensure compatibility with the existing projector model. Different projectors may have varying specifications, so it is crucial to select a panel designed specifically for your model. Additionally, assessing the resolution and brightness specifications of the replacement panel can help ensure that it meets or exceeds the original panel's performance. Lastly, examining reviews and sourcing panels from reputable suppliers can provide assurance regarding quality and reliability. Taking these steps will help ensure that the new LCD panel enhances the projector's overall performance and longevity.
Understanding the Functionality of LCD Panels in Projectors
LCD panels play a crucial role in the functionality of projectors, serving as the primary medium through which images are transmitted. Unlike traditional bulbs, which merely illuminate, LCD panels use liquid crystal technology to modulate light. When the projector is powered on, light passes through the panels. The liquid crystals within the panels adjust their alignment according to the electrical signals they receive, allowing varying levels of light to pass through. This process ultimately creates the images we see projected onto screens.
Choosing the right LCD panel for a projector involves understanding the specific requirements of both the projector and the intended usage. Factors such as resolution, brightness, and color accuracy are vital in ensuring that the panel meets performance expectations. Higher resolution panels are ideal for detailed images, while brightness is important for maintaining visibility in well-lit environments. Additionally, color reproduction plays a significant role in how true-to-life the projected images appear, making it essential to select a panel that offers accurate color representation. By considering these elements, users can ensure they select an LCD panel that enhances their projection experience.
What is a Projector Replacement Lcd Panel and How to Choose the Right One
| Panel Type |
Resolution |
Aspect Ratio |
Brightness (Lumens) |
Life Span (Hours) |
Price Range |
| 3LCD |
1920 x 1080 |
16:9 |
2500 |
30000 |
$150 - $300 |
| DLP |
1280 x 800 |
16:10 |
3000 |
20000 |
$200 - $400 |
| LCoS |
3840 x 2160 |
16:9 |
2000 |
25000 |
$600 - $1200 |
| LED |
1280 x 720 |
16:9 |
1500 |
30000 |
$100 - $250 |
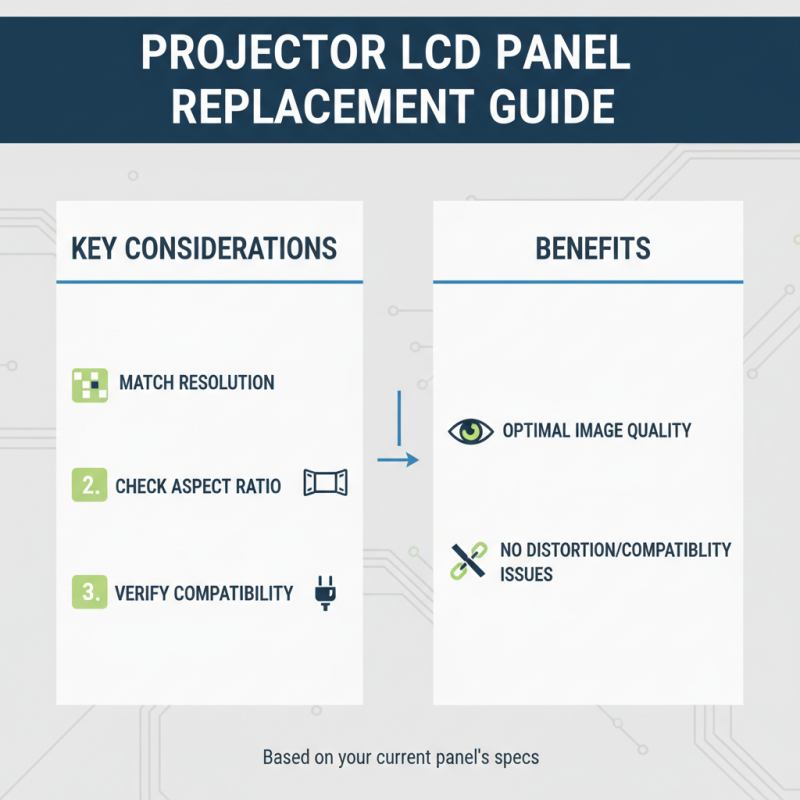
Key Factors to Consider When Choosing a Replacement LCD Panel
When selecting a replacement LCD panel for your projector, several key factors should be taken into account to ensure optimal performance and compatibility. First, it's crucial to understand the specifications of your current panel, such as the resolution and aspect ratio. Choosing a replacement that matches these specifications will not only preserve image quality but also reduce potential issues like distorted images or compatibility problems.
Another significant factor is the size of the LCD panel. Measure your projector’s dimensions and ensure that the replacement panel fits seamlessly within the housing. Additionally, consider the light transmission efficiency of the panel; a higher light transmission rate can lead to brighter images, which is especially important in environments where ambient light cannot be controlled. Lastly, you should look into the durability and lifespan of the replacement panel, as investing in a robust component can lead to prolonged projector functionality and reduce the frequency of replacements needed over time.
How to Identify the Right Specifications for Your Projector Model
When it comes to replacing a projector's LCD panel, understanding the specifications that align with your specific projector model is essential. The first step is to consult the original equipment manufacturer's (OEM) documentation, where you can typically find critical details such as panel size, resolution, and power requirements. According to a report by the International Display Consortium (IDC), more than 50% of projector failures result from issues related to the LCD panel, emphasizing the importance of precision in this replacement process.
Another vital aspect to consider is the aspect ratio of the LCD panel. Most projectors operate on standard ratios like 4:3 or 16:9, but variations exist. A misfit in aspect ratio can lead to distorted images or an inability to display certain formats. Furthermore, resolution plays a critical role; modern projectors often utilize panels with resolutions up to 1920x1080 (Full HD) or even 4K, as noted by the Display Search Global Market Report. Ensuring that your replacement panel matches or exceeds the original’s resolution not only maintains image quality but also ensures compatibility with current media formats.
Finally, consider the panel technology, such as TFT (Thin Film Transistor) and IPS (In-Plane Switching), which can affect color accuracy and viewing angles. This decision can have significant implications for the projector's overall performance and user experience, making it crucial to prioritize these specifications.
Projector Replacement LCD Panel Specifications
This chart displays the typical specifications for projector replacement LCD panels. When selecting the right panel, consider brightness, contrast ratio, resolution, panel size, and refresh rate to ensure compatibility and optimal performance.
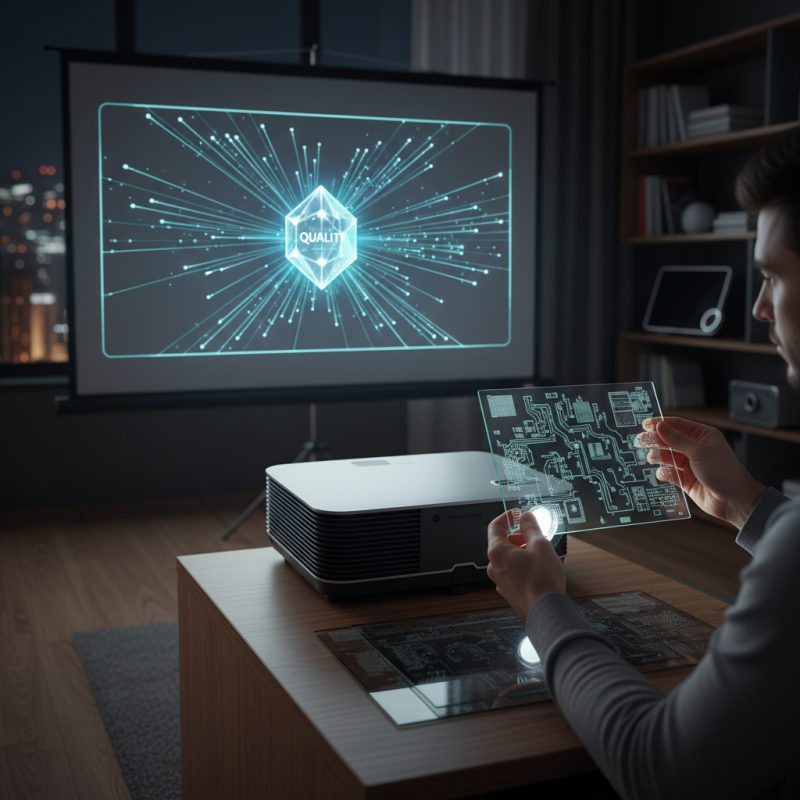
Installation Tips for Your New Projector Replacement LCD Panel
Installing a projector replacement LCD panel can be a rewarding but intricate task. Before diving into the installation process, it’s crucial to prepare your workspace and gather the necessary tools. Make sure you have a clean, well-lit area with ample room to maneuver. Tools typically needed include a screwdriver set, anti-static wrist strap, and possibly tweezers for handling small components. Always remember to disconnect your projector from power and any video sources to ensure safety during the process.
When installing the new LCD panel, take care to handle it gently to avoid damaging the delicate surface. Start by removing the old panel, noting the connections and placement for accurate reinstallation. It can be beneficial to take photographs during disassembly, which will serve as references when you’re ready to put everything back together. Ensure that each connection is secure but not overly tight, as this can lead to further damage.
Tips: Keep track of screws and small parts by using a labeled container, which will help you avoid losing essential components. Additionally, after securing the new LCD panel, run a test before fully closing your projector. This allows you to confirm that everything is functioning correctly without the risk of having to reopen it again for adjustments. Taking your time and following these guidelines can lead to a successful installation and prolonged life for your projector.